Introduction to Vegetable Grafting
For many, when we hear about grafted plants we may think of trees. Grafting has been used in tree fruit and nut production for many years, with great success. Though the practice of grafting is a relatively new technique in the vegetable world, it has been utilized for centuries (Kubota, et al., 2016). Originating in Asia, grafting was done on gourds to increase the root system and size of gourd fruit (Lee and Oda, 2003). This fact sheet will provide a brief overview of the benefits of using grafted vegetables along with the grafting procedure.
Advantages of Grafting
The use and demand for grafted vegetables have been growing worldwide over the last few decades. Advantages of using grafted vegetables include better resistance to pathogens, drought and other environmental stresses, more vigorous growth, and higher yield. These advantages also allow for fewer inputs such as pesticide applications and an extended harvest season. The need for grafted plants may also add a revenue source for growers wanting to sell.
How it Works
A grafted plant consists of two parts: a scion and a rootstock with each being a different plant. The scion provides the shoot and the rootstock provides the root system. The point of attachment is called the union, which is the point where the vascular bundles of the two plants fuse together and become one plant. A scion may be chosen for its fruit quality and the rootstock for its vigor, resistance to pathogens, and environmental stresses.
How to Begin
Once a scion and rootstock are chosen for grafting, they must be close to the same stem diameter when grafted. This allows for the cambium of the plants to be well aligned and thus join successfully. Considering this, a grower must know the rate of germination and development of the scion and rootstock to allow for stem diameters to match. Another factor in choosing plants to graft is whether to use the same species or the same family of plants. An example of the same species would be grafting a tomato scion onto a tomato rootstock. For the same family of plants, a watermelon scion may be grafted onto a squash rootstock.
Before grafting, both scion and rootstock should be watered up to twenty-four hours in advance, twelve hours minimum. Watering immediately prior to grafting should be avoided if possible (Mills et al. 2016). Cuts should be made with a clean, sharp blade. A new double edge razor blade split in half is generally used for making cuts, though there are many tools available to use for making the cuts. Plants are ready to graft when they have two true leaves, make sure to cut the rootstock below the cotyledons to discourage new shoot growth. Persons performing the grafting should make sure their grafting environment as well as themselves are as clean as possible. Make sure to wash hands thoroughly or use surgical-style gloves.
Graft Methods
Side Graft
This type of graft may also be called approach grafting. To begin, cut a forty-five-degree downward angle slit about halfway through the rootstock stem below the cotyledons. Make an upward angled slit in the scion at the same height as the rootstock. Bring the stems together so they overlap making full contact between the two cuts. Wrap with paraffin film or use a grafting clip to secure the union. Begin to remove the scion stem below the union after five days, slicing through the stem a little each day, removing entirely within eight days. Some advantages of this type of grafting are that it has a high success rate, and a grafting clip as well as high humidity are not necessary for a successful union. Some disadvantages are that this type of graft may be slower and slightly more difficult to graft than other types of grafting.

Figure 1. Grafted pepper using the splice method. The union is secured by a grafting clip.
Cleft Graft
This type of graft may also be called wedge grafting. Cut the rootstock horizontally below the cotyledons making a slit about one centimeter in the center of the rootstock stem. Cut the scion stem into a wedge shape about a centimeter in length, insert the scion wedge into the slit in the rootstock. Use a grafting clip to hold securely in place. Some advantages of this style of graft are that the wedge holds the two stems in place more securely than other types of grafts, and it is more forgiving when the rootstock has a larger stem diameter than the scion. Some disadvantages are that the rootstock may easily split if the scion wedge is too large or inserted roughly, and it is more time-consuming to make the graft.
Splice Graft
This type of graft may also be called a top graft. Cut the scion and rootstock at matching forty-five-degree angles, align cuts so that full contact of each piece is achieved, secure with a grafting clip. This type of graft is commonly used for tomatoes and peppers. Some advantages are that it is relatively easy to learn and a quick way to graft large numbers of plants. Some disadvantages are that grafting clips or some type of wrap are necessary to ensure a successful union, and the stem diameter of the rootstock and scion must be similar.
Healing the Graft
Once plants are grafted, place them in a healing chamber to help the graft union join successfully. A healing chamber is a covered structure that provides high humidity, close to 100%, while also blocking light to allow the grafted plant to heal. The main goal of the healing chamber is to slow the transpiration of the scion, as it cannot yet take up water from the rootstock immediately following the grafting procedure. Plants should remain in the healing chamber for up to eight days after grafting with close monitoring for humidity during the duration. After a few days, chambers may need to be periodically opened and water added to the floor or through a mist spray on the walls of the chamber to ensure high humidity. Grafted plants need to be taken out from the healing chamber once the rootstock and scion union forms. Excessive exposure to high humidity may encourage adventitious roots develop on the stems. The size and type of chamber are dependent on the scale of the grafting being done. A home gardener may be able to use a flat with humidity dome whereas a commercial grower may use a larger PVC chamber that holds hundreds of plants. A general rule for the chamber height is to allow six to eight inches of space between the top of the grafted plants and the top of the chamber.
Transplanting to the Field
Once a grafted plant is removed from the healing chamber another week or so may be needed for the graft union to completely heal. Once healed a grafted plant may begin to be hardened off. Bring the plants outside for a few hours each day adding more time outside every day for at least a week before transplanting. Adjust the amount of time outside as necessary if any signs of stress are shown. When transplanting, ensure the graft union does not contact the soil surface as adventitious roots may form from the scion and render the rootstock ineffective. Also, monitor transplants carefully as shoots may arise from the rootstock and will need to be pruned off.
Figure 2. Graft methods. Pictures courtesy of Vince Giannotti.
Figure 3. Simple healing chamber designs. Pictures courtesy of Hu et al., 2017
Figure 4. Healing chambers constructed using PVC covered by plastic and shade cloth. Pictures courtesy of Hu et al., 2017.
Figure 5. Grafted watermelons completely healed and ready for transplanting to the field.
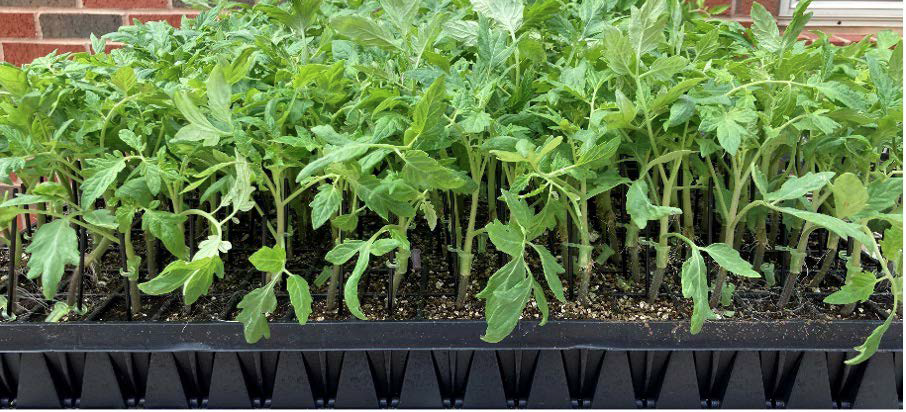
Figure 6. Grafted tomatoes completely healed and ready for transplanting to the field.
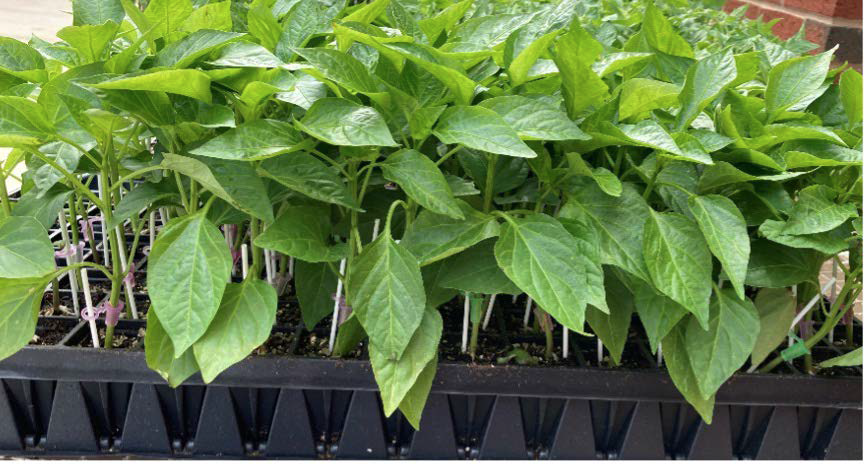
Figure 7. Grafted peppers completely healed and ready for transplanting to the field.
Bizhen Hu
Extension Small Farm Horticulturist
Matt Beartrack
Graduate Student


