Native Milkweed Germination Guide
Milkweed Seed Collection
Before you can begin germinating milkweed seeds, you need to collect seeds! Various species of milkweed seeds are available from countless vendors, but collecting your own milkweed seeds is easy and cost-free. An advantage to buying milkweed seeds is being able to select the specific species of milkweed you want. Locally collected seeds may be better suited to your particular location and climate. They may outperform seeds bought from source locations differing in climate to yours. Be careful not to over harvest seeds from native sources, as there should be some seeds left to distribute naturally. The Kerr Center for Sustainable Agriculture has an excellent publication of the many species that grow in Oklahoma.
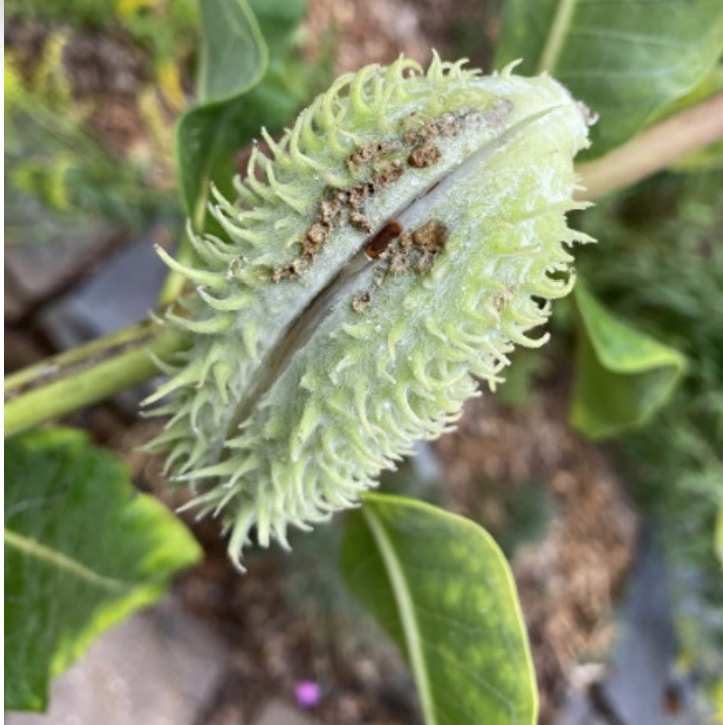
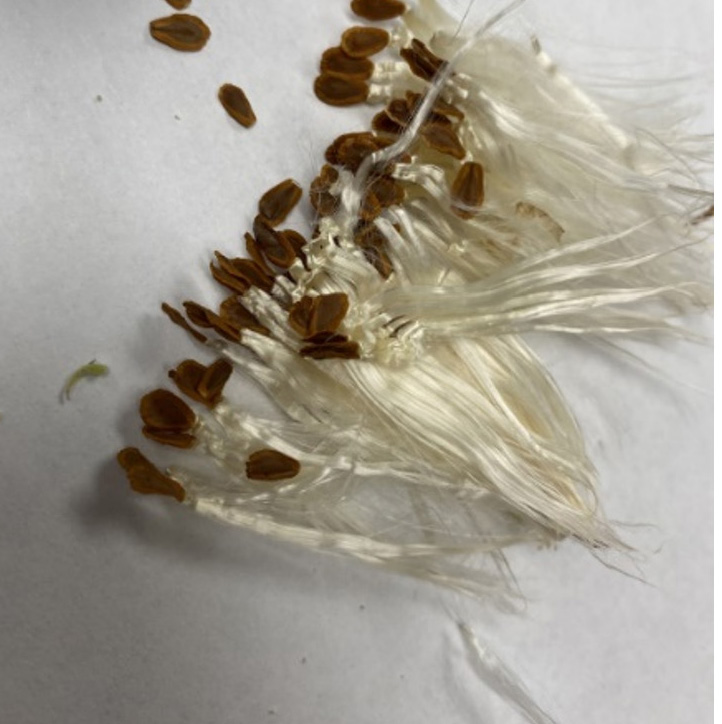
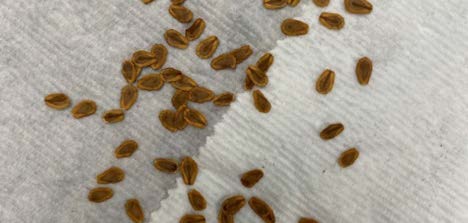
Prior to collecting milkweed seeds, it is important to ensure the seeds are mature. Milkweed seed pods tend to be tubular or horn shaped. Some species have very distinct prickles covering the entire pod surface. Mature seed pods turn tan to brown in color and dehisce (split open on the suture), while immature seed pods are green and remain sealed if left undisturbed. Once the seed pods are dry and tan or brown in color then the seeds are mature and ready for harvest. If you harvest the seed pods when they are still green, the seeds will be viable as long as the seeds are a rich, brown color inside the pods (Fig. 1-3).
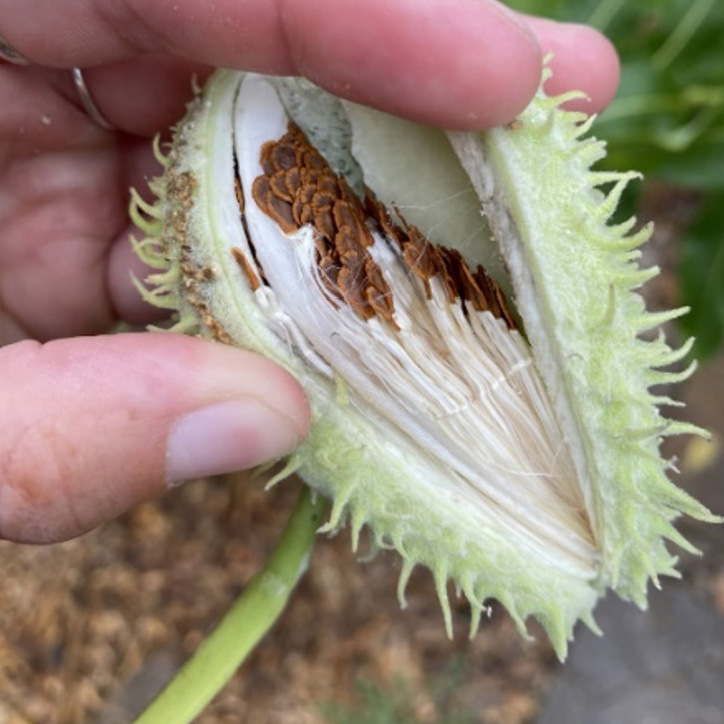
Inside the seed pod there are feathery filaments, called coma, attached to the seeds to aid in wind dispersal. It can be easier to separate the seeds from the coma if the pods are harvested before they dehisce. To prevent harvesting seed pods too early, if the seed pod is green and sealed, give it a squeeze. If it pops open, look inside to check on the color of the seeds. If the seeds are tan or white in color, leave the pod on the plant and let the seeds mature further. If the seeds are brown in color, even though the seed pod is still green, then they are mature enough for harvest and the entire pod can be cut from the plant.
Figure 1. Common milkweed (Asclepias syriaca) seed pod slightly dehisced. Photo by Peyton Osborne, Oklahoma State University.
Figure 2. Squeeze the seed pod to open the pod further to look inside. Photo by Peyton Osborne, Oklahoma State University.
Figure 3. The seeds are brown and viable and can be removed from the pod. Photo by Peyton Osborne, Oklahoma State University.
Types of Stratification:
There are a variety of different environmental cues that different species may need to undergo in order to germinate.
Scarification: Seed scarification simulates natural weathering that would naturally occur over time.
Some species like the American Lotus can take decades to sprout naturally as their
hard seed coats breakdown and remain viable for up to 200 years. Scarification involves
nicking, cutting or removing the outer seed coat. For some rare species of milkweeds,
scarification can be used to quick start seeds. Scarification
can be accomplished with the careful use of razor blades or crafting knives.
Cold Moist Stratification: Cold moist stratification (CMS) mimics the time seeds would spend in the ground during the winter months. CMS is the most popularly used stratification method with milkweeds. Plants have developed this strategy to ensure their seeds sprout in early spring giving them the maximum growing season possible. Stratification is important for germination success. With CMS Asclepias viridis (green antelopehorn) has germination rates of 90%, but without CMS rates are usually less than 1%. CMS is covered in greater detail below.
Cold Moist Stratification (CMS) for Native Milkweeds
While most native milkweed species only need a stratification period of 30 days, some may need anywhere from 60 to 90 days, or even longer depending on the species. Occasionally, available information on a particular species may be scarce so trial-and-error is often necessary to determine what will work best. If information is not available, researching the environmental conditions of the species can help provide clues as to what stratification process would be most adequate. A good rule is to start with a 30-day cold moist stratification. In Oklahoma, many of the native milkweed species including Asclepias viridis, A. tuberosa, A. incarnata, A. viridiflora and A. verticillata do great with 30-day CMS.
CMS Instructions Supplies:
- Seeds
- Plastic sandwich bags
- Paper towels
- Sharpie
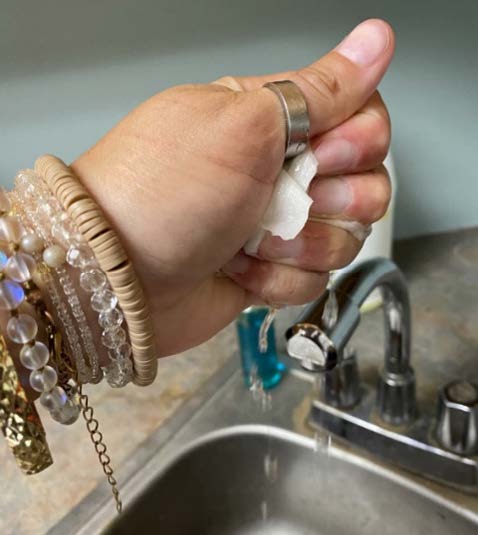
Figure 4. Squeeze out as much excess moisture as possible out of a paper towel to prevent mold. Photo by Peyton Osborne, Oklahoma State University.
Directions
Step 1: Wet the paper towel and squeeze out as much excess moisture as possible (Fig 4.). The towel should be damp, not sodden. Too much moisture will increase bacterial and mold and kill the seeds. It may be a good idea to not germinate all your seeds at once and divide the seeds you are trying to germinate into two or three groups to increase your chances for success.
Step 2: Fold the paper towel once (or twice if large). Sprinkle some seeds across paper towel. Fold the paper towel over the seed so that the seeds are fully wrapped in the paper towel (Fig. 5).
Figure 5. Sprinkle seeds across paper towel. Photo by Peyton Osborne, Oklahoma State University.
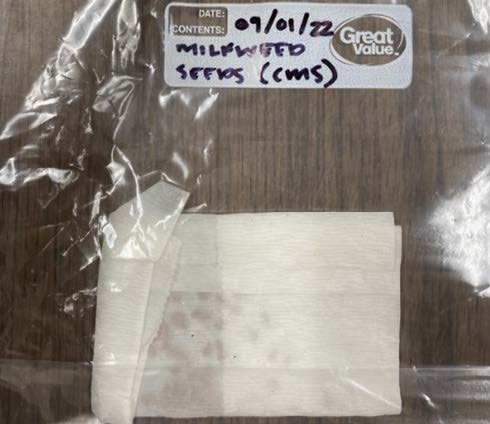
Step 3: Place the folded paper towel into a plastic sandwich bag. Label the plastic bag with the name of the species, the date placed in the bag and the date the seeds should come out of the refrigerator. It is also helpful to write the same information on a piece of paper that can be attached via a magnet or tape to the outside of the refrigerator (Fig. 6).
Figure 6. Place the folded paper towel into a labeled sandwich bag and seal it. Photo: Peyton Osborne, Oklahoma State University.
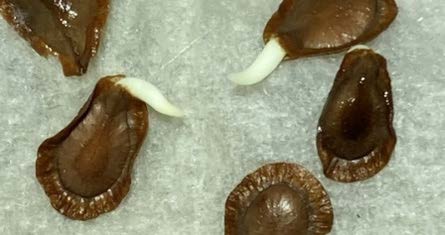
Step 4: After 30 days, remove from refrigerator. Do not be alarmed if you see some mold on the paper. This is normal and the seeds should be fine. Check the seeds by gently squeezing: if the seed is squishy, it is dead and should be discarded. If the seed still feels firm then it is fine. Transfer the seeds to a fresh damp paper towel and fold them in like before and place back in the plastic bag. Place the plastic bag in a warm place. Avoid placing in direct sun as this could kill seeds. Check the seeds daily by gently unfolding the paper towel to look for signs of germination. If germinating, a tiny white root will emerge from the end of the seed (Fig. 7). It is important to catch germination as early as possible since the roots are easily damaged as they get longer. Ideally the seeds are easiest to work with if the root length is less than a ¼ of an inch. If you are unable or don’t want to check the seeds daily, you can transfer any seeds that still feel firm to starter pots now.
Figure 7. Milkweed seeds germinating. Photo by David Berman, Oklahoma State University.
If no sprouting occurs: If after two weeks no sprouting activity is noted check the seeds again. If firm, they are still alive and there are several things you can try. If the paper has dried out or is not damp enough, add additional water (a spray from a squirt bottle should be plenty) and continue to check. If the paper towel is damp and they still have not sprouted the seeds may need more warmth to simulate spring. Try moving them to a warmer area to encourage sprouting.
Alternatively, seeds may need longer stratification. Place any seeds that are firm in a new damp paper towel and place back in the fridge.
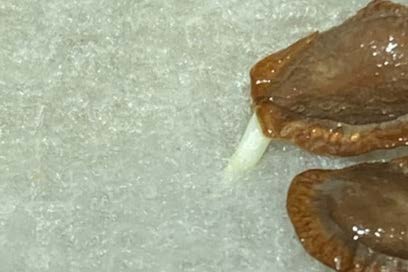
Step 5: After the first evidence of germination, it is time to plant the seeds. Be extremely careful, since new root tips are very fragile and can be easily broken, which kills the seed. As seeds continue to germinate, the root will grow bigger and longer making it more susceptible to damage when transplanting. For this reason, it is better to not wait too long after first noticing germination to plant the seeds. The roots can also grow into the paper towels if left too long, making it difficult to remove without damaging the seed (Fig. 8).
Figure 8. Milkweed seed germinating with root tip growing into towel. Photo by David Berman, Oklahoma State University.
Step 6: Choose a container such as a plastic drinking cup with holes poked in the bottom and well-draining commercial potting mix. Create a small hole in the potting mix by gently pressing into the mix. Drop the sprouted seed into the hole and cover with potting mix. Water the potting mix taking care not to over water. The potting mix should be damp but not soggy. Make sure the drainage holes drain off excess water when watered.
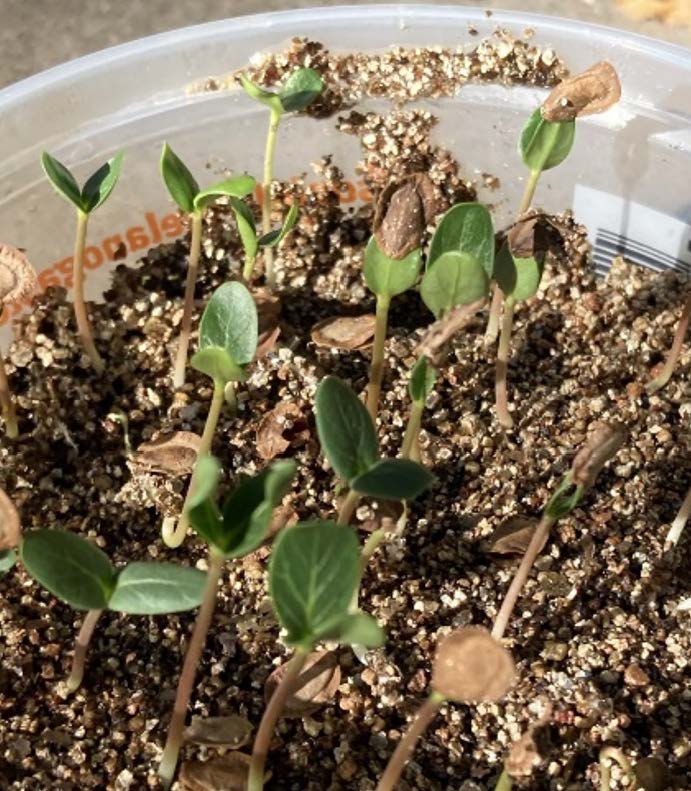
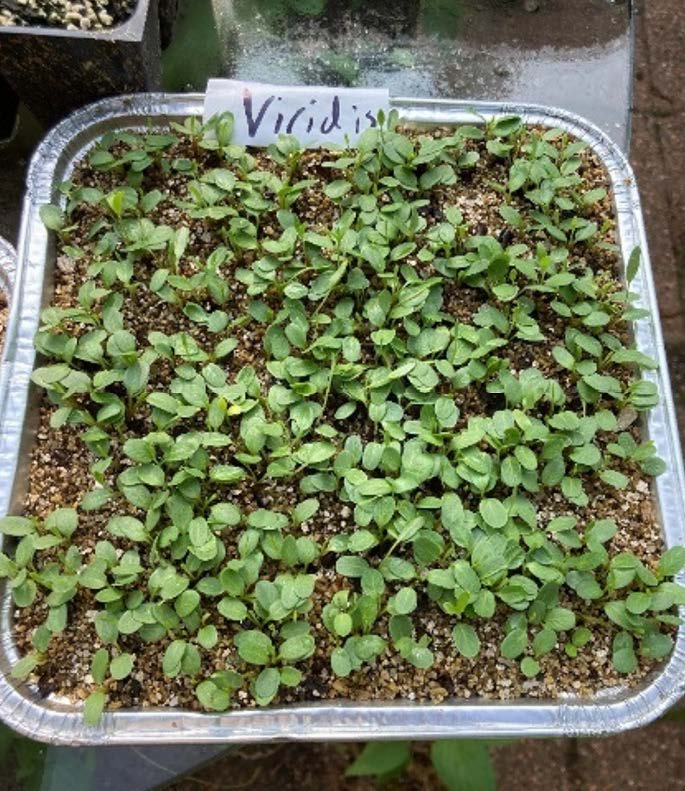
Step 7: Place the containers in a well-lit area or window that gets 3+ hours of direct sun. Periodically check plants to ensure the potting mix does not fully dry. Remember to be careful not to over water or have the potting mix dry out completely. The pots should not be sitting in standing water (unless it is an aquatic milkweed). Make sure seedlings are receiving enough light. If seedlings do not get enough direct sunlight seedlings may get long/spindly or leggy, a process known as etiolation. If plants begin getting leggy, gradually move the seedlings to a sunnier spot. It is important to gradually move to a sunnier spot since a plant moved immediately is at risk of sun shock and sun burns. The process of adapting seedlings to full sun from indoor growing conditions or from under grow lights is a process known as hardening off plants (Fig. 9-11).
Figure 9. Single milkweed seedling. Photo by David Berman, Oklahoma State University.
Figure 10. Multiple milkweed seedlings. Photo by David Berman, Oklahoma State University.
Figure 11. Milkweed seedlings. Photo by David Berman, Oklahoma State University.
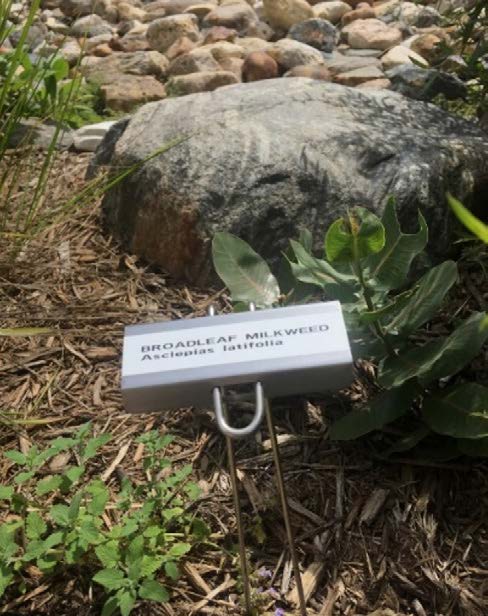
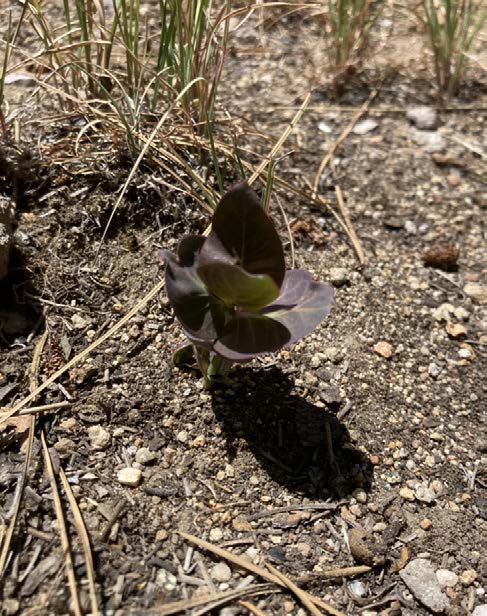
Step 8: Transplant milkweed plants to a garden when the plants are about 4-5 inches in height and have multiple leaves (Fig. 12-14 and 14). Milkweeds prefer well-draining soils and can tolerate extra water while getting established, but not as much water as many store-bought plants. Remember over-watering kills more plants than under watering! Also, keep in mind that native milkweeds like Asclepias viridis naturally die back to carrot-like tubers when conditions are not suitable. Be patient, often plants will re-emerge and thrive later when conditions improve. So even though your plant looks dead it may be fine!
Figure 12. Transplanted milkweed. Photo by Emily Geest, Oklahoma City Zoo.
Figure 13. Transplanted milkweed. Photo by David Berman, Oklahoma State University.
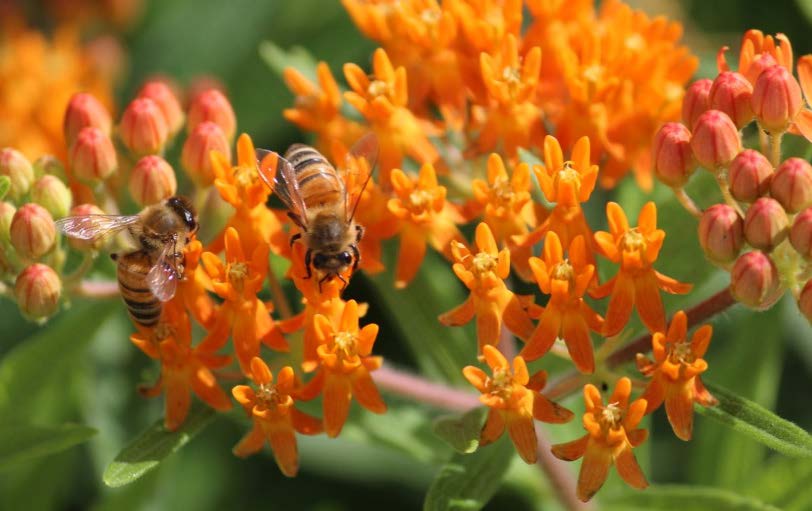
Figure 14. Butterfly milkweed (Asclepias tuberosa) with honey bees (Apis mellifera). Photo by David Hillock, Oklahoma State University.

