

Forcing Bulbs for The Holidays
Tuesday, November 3, 2026
David Hillock, Senior Extension Specialist in Consumer Horticulture and Statewide Master Gardener Coordinator
We have been busy planting bulbs in the gardens, but we do not have to wait until spring to enjoy these blossoms. Many spring-flowering bulbs can be forced indoors for a colorful winter display. What better way to brighten up a winter day than with fresh flowers?
"Forcing" is the term used to describe the process that stimulates bulbs to bloom out of season. The easiest bulbs to force are Paperwhite Narcissus because they don't require chilling. Other commonly forced bulbs include amaryllis, muscari and hyacinths. More challenging bulbs for forcing include colchicum and miniature iris. When selecting bulbs for forcing look for varieties that are specifically recommended for this purpose. Most bulbs require a chilling period or period of cold temperatures before they will bloom, but bulbs sold specifically for indoor forcing are pre-chilled, removing this step for the gardener.
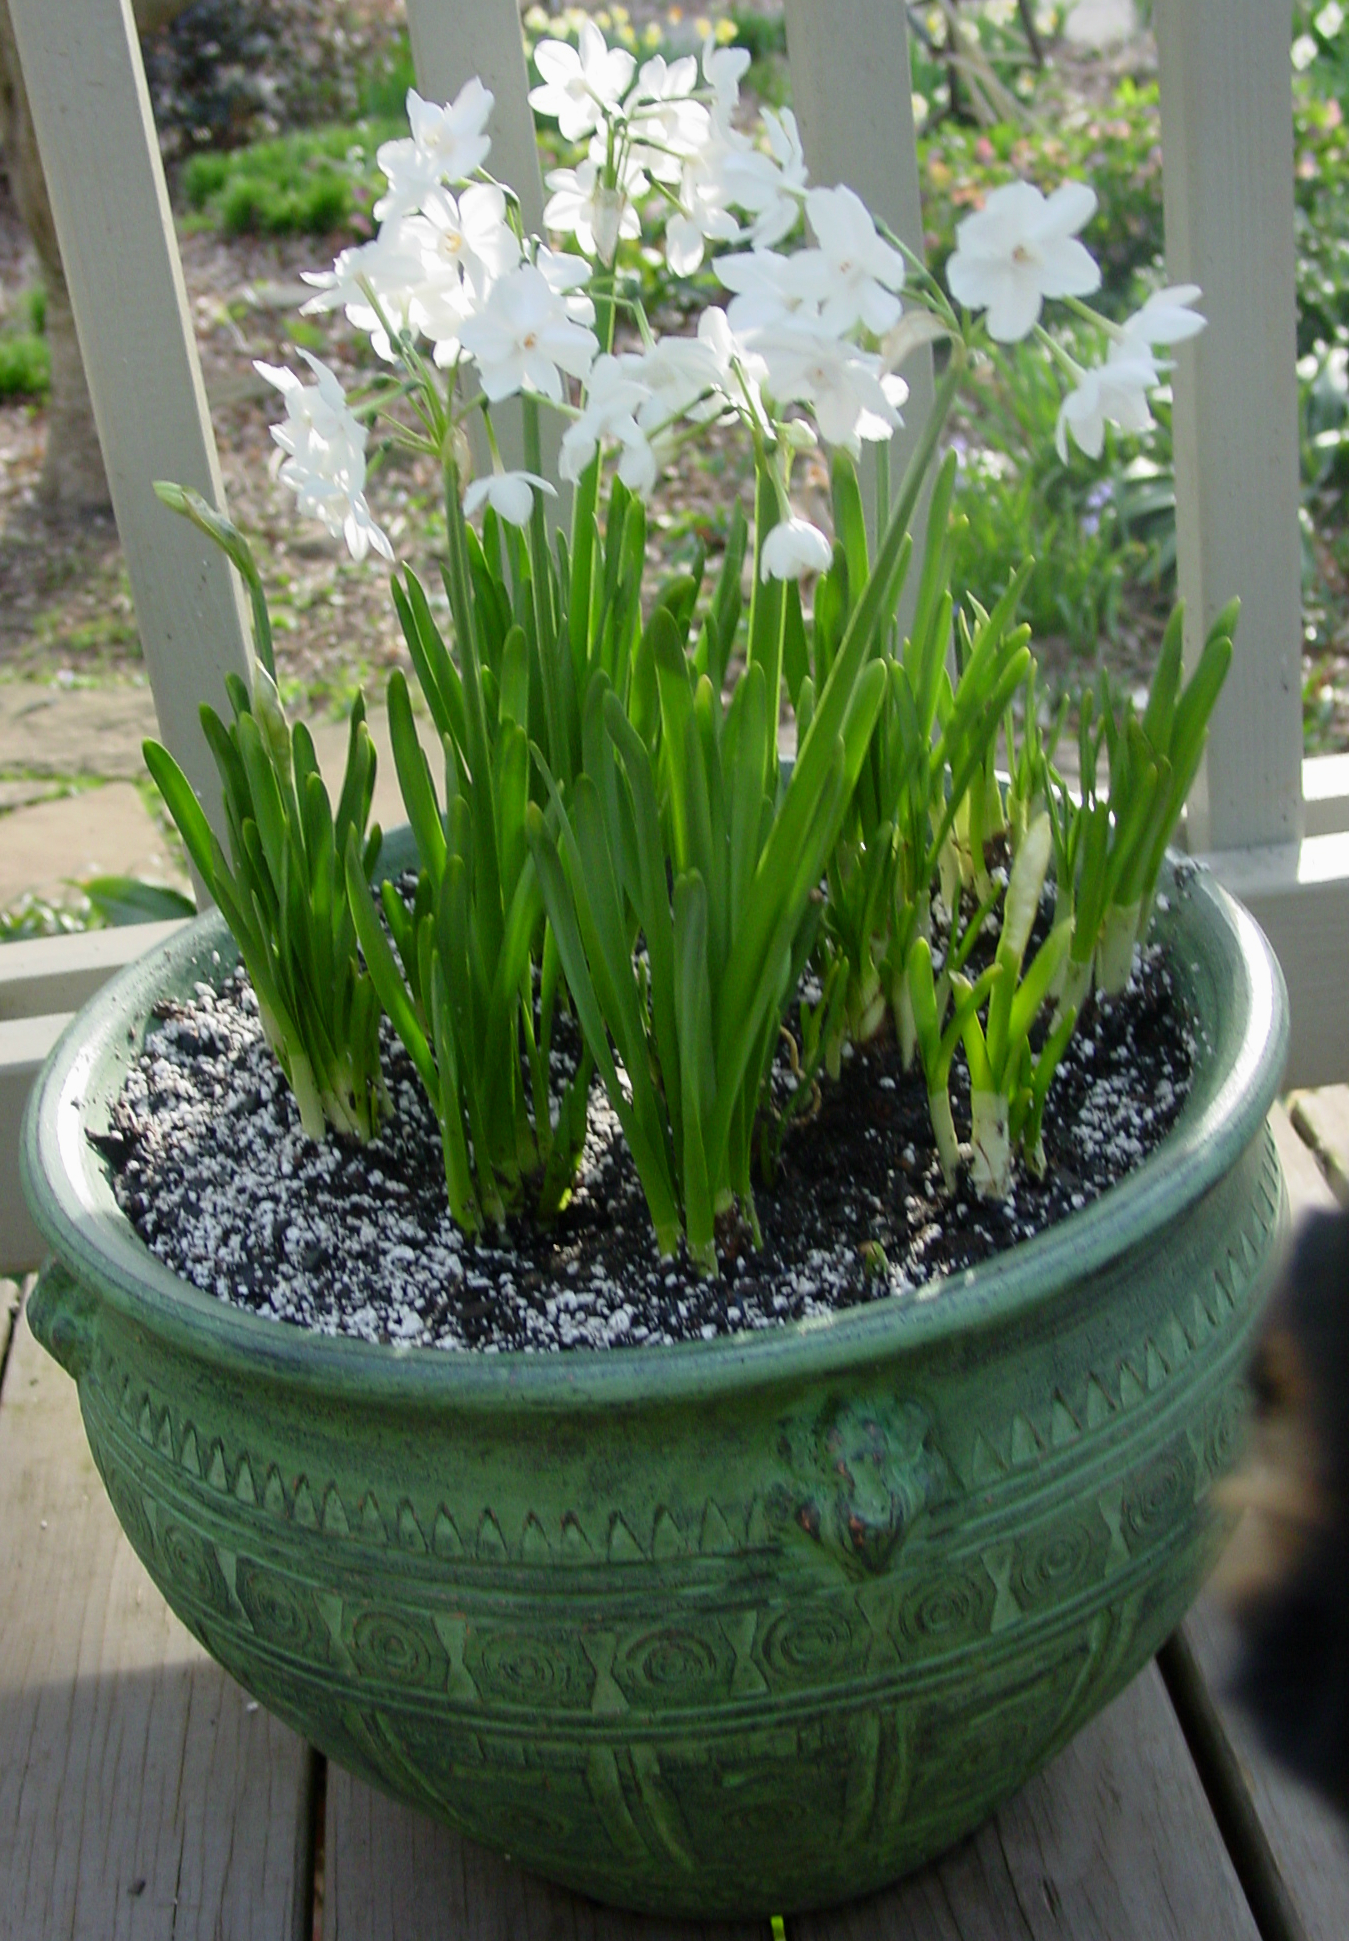 Figure 1. Paperwhites are one of the easiest bulbs to force. (Credit: Barbara Smith, Clemson Extension)
Paperwhites are quick and easy to start and will bloom within four to six weeks. Start by selecting a container without any drainage holes. A clear glass vase can be used so you can see the roots of the bulbs growing, but many different types of containers can be used, if it is deep enough to hold about 3 inches of media.
When forcing bulbs, it is not necessary to use soil as the medium, though you may. It may be easier to use washed pea gravel or glass pebbles that can be purchased at craft stores. The stones or gravel will hold the bulbs in place as they grow. Fill the container with about 2 inches of growing medium. Then, place the paperwhite or other bulbs on top of the pebbles. For a nice display, set 7 or more bulbs close together so they almost touch. A large bunch of bulbs will be more dramatic. Set the bulbs so they are perfectly upright. Wiggle the bulbs down into the pebbles a little bit and then fill in around the bulbs with more pebbles. You do not want to completely bury the bulbs, instead, leave 1/2 to 1/3 of the bulb exposed.
Once you have the bulbs in place, add just enough water to the container to reach the base of the bulbs, but not touch the bulbs. Do not let the bulbs sit in water or they may rot. One of the reasons to use a glass container is that it is easy to see the level of the water. If you are using a solid container, just dig a small hole next to a bulb so you can see the water depth.
To start the rooting process, place your container in a cool room that gets low light or no light, such as a windowless room. Keep your container at low light levels until the roots begin to grow well and the shoots start showing - usually about 1-2 weeks. Keep an eye on the water level and refill as necessary to keep the level just below the bottom of the bulbs.
Once you have good root growth, move your bulbs into a warmer bright, sunny window and watch them grow! Once the bulbs begin to flower, move them out of direct sun so your blooms will last longer. Your home will be filled with beautiful flowers and the refreshing aroma of spring in the middle of winter. Plant batch after batch to keep flowers blooming all winter long. Paperwhite containers make beautiful centerpieces for the table during the holidays and are also great to give as holiday bouquets. Or force paperwhites with your children to create unique gifts for their teachers or grandparents.